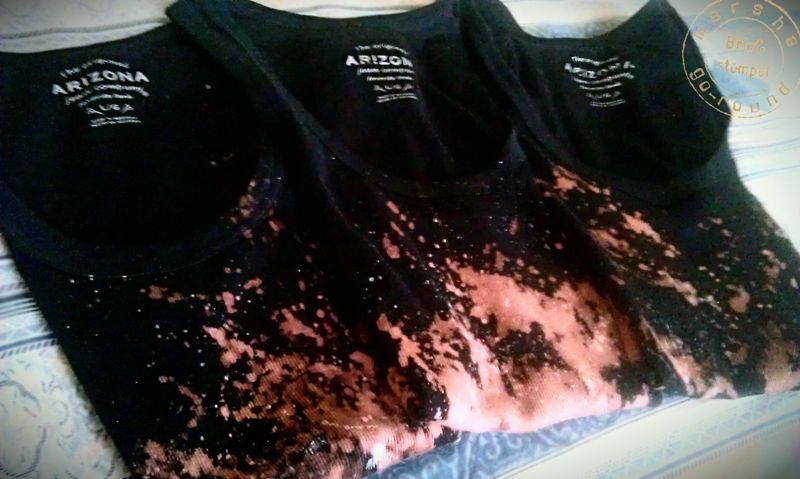
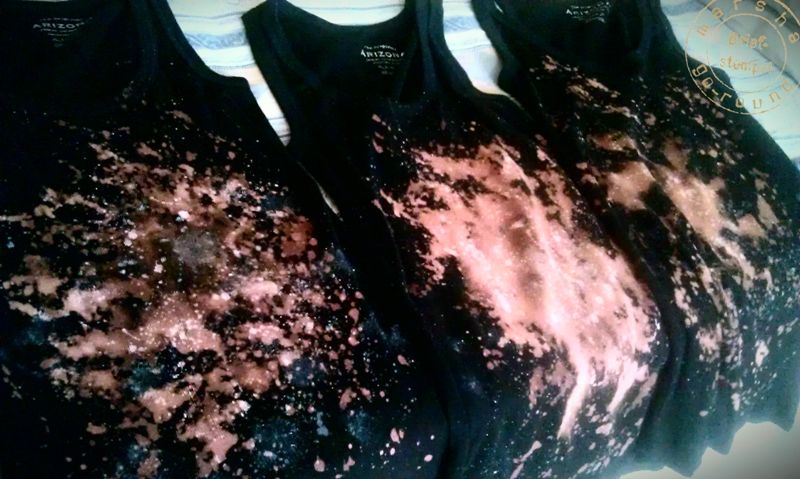
Hello there, people! Welcome to another DIY post of mine, a sub-feature of the Studio/Kitchen feature. :D
Lately, I've been stunned by the gorgeous galaxy print fashion often seen in Tumblr and fashion blogs. Unfortunately, here in Indonesia, there are still so few stores that have them. AND, if any, they're unreasonably pricey (for my pocket, at least :p).
That's why, my friend Amanda and I decided to make our own DIY Galaxy Tees! Well, tanks, to be exact. (; And we wanna share that with you!
We mainly got the instruction from Wise Rabbit Says, but we added a few of our own touches here and there! (; We'll include our commentary on the process below.
First things first, here are the things that you'll need to make a DIY Galaxy Tee / Tank.
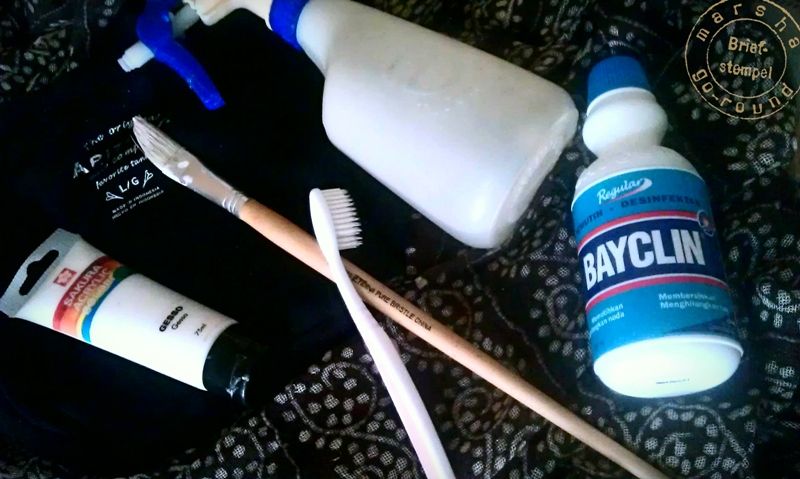
Supplies: a garment (I chose black for my first to-sell collection), bleach, water, spray bottle, acrylic paint, paintbrush or old toothbrush, hairdryer, some plastic bags, glove (optional, recommended if you have sensitive skin).
And now, let the process commence! :D
First mix up a bleach solution of 1 part bleach, 3 parts water and fill your spray bottle with it.
Commentary: We found out that this bleach/water ratio to be not quite effective on our garments, especially Amanda's. With that ratio, nothing really happens and the color change was minimum. So we changed it into about 5/2 bleach/water ratio. Different color and fabric might need different ratio, so don't be afraid to experiment. (;
Next lay out the T-shirt (with nothing around to avoid damage from bleach splatters). Place a plastic bag inside the T-shirt so the bleach doesn't seep through to the back of the garment (optional).
Commentary: We also laid a plastic bag that we had cut out into a bigger spread under our tanks, just to be safe if we do spill some bleach.
Then, start spraying! Start by spraying a little, use your hairdryer to make them dry faster and to see the pattern emerging. This helps you know where to spray next.
Commentary: By hairdrying them, you'll see what color appears out of the bleaching process like magic! Different color and fabric will have different color change. For instance, dark blue might produce pinkish color change, black to rusty brown (like Amanda's), and dark brown to red (like mine).
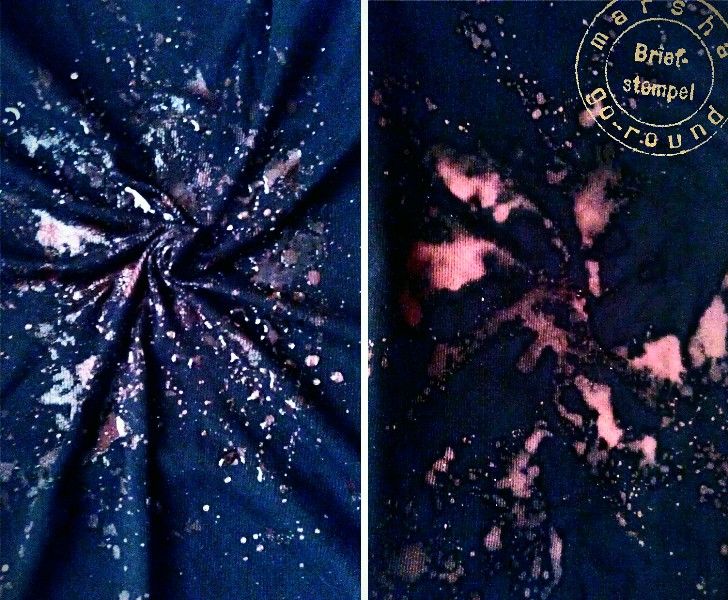
To help create a galaxy effect, twist the fabric in the middle to form a swirl, spray more heavily in the middle to form the center, and use your hairdryer again!
Commentary: In our first process, we found out that our spray bottle didn't really work as expected. Instead of smooth spray, it only produced big blotches. To get around this, I just poured some bleach onto the middle instead of spraying and then used my fingers to help even them out, and Amanda just kept spraying more! (;
Continue spraying until you get the pattern you want, and use your hairdryer again.
When it's dry, rinse the garment with lukewarm water (this step is different from the Wise Rabbit Says) to stop the bleaching process and prevent it to eat holes in your garment! Then let it dry again.
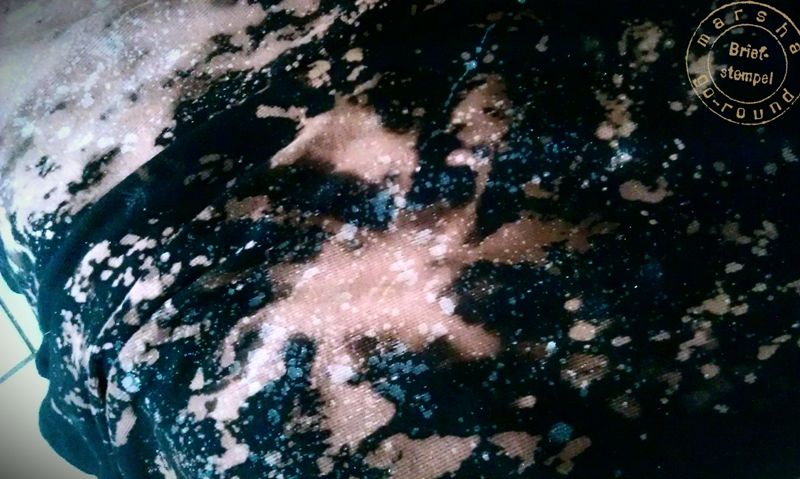
For the final touch, Wise Rabbit Says instructed to 'use the paint brush to slowly drip and stronger bleach solution (1 part water,1 part bleach- you only need a tiny amount for this) to give the effect of individual brighter stars'.
Commentary: Instead of more bleach, we used white acrylic paint and old toothbrush. Amanda and I had different method for our final touch. Amanda grabbed some of the acrylic paint (mixed with a little water) with her old toothbrush and just flicked the toothbrush to create the 'star drops'. On the other hand, I, too, grabbed some of the acrylic paint with my toothbrush and dabbed it onto different spots of the fabric, sometimes slightly brushing it. These two different methods produced different results as seen above! (; So, whichever you prefer!
And, TA-DAA! There you go, a brand new DIY Galaxy Tee / Tank of your own!

The above picture shows the brown one and bluish black one, instead of the pure black I used along the post. We also wanna thank Wise Rabbit Says big time for the tutorial.
And for you, beautiful readers, hope you enjoy this DIY, cos we certainly did! (; Feel free to experiment with different color and fabric, and share the result or the difficulties you found with us! Hopefully we can help you get around the errors. (; Toodles!






0 comments:
Post a Comment