


One of my besties in Bandung, Adela, just had her twentieth birthday yesterday. Twenty is a big thing, right? So we decided to give her something reaaaally special, especially since Adela kinda dreaded the coming of the twenties.
Well, I happened to stumble across something like a decorated jar on the internet, which is a jar that you can display in your room, decorated with old photos from their parents' old yearbook and filled with a candle. So, I popped out the idea of a 'Happy Jar', which is kinda similar to what I found on the internet, but I gave it some twists.
Instead of decorating it with parents' old photos, I wanted to decorate this Happy Jar with photos from our teenagers' era (which are usually dorky, narcissistic, and etc you know :p) to mark the end of it and serve as a memory for her. I also wanted to fill the Happy Jar with our wishes for Adela so that she can open it anytime she feels unhappy or lonely. My other friends agreed. And so, the job was trusted into my hands.
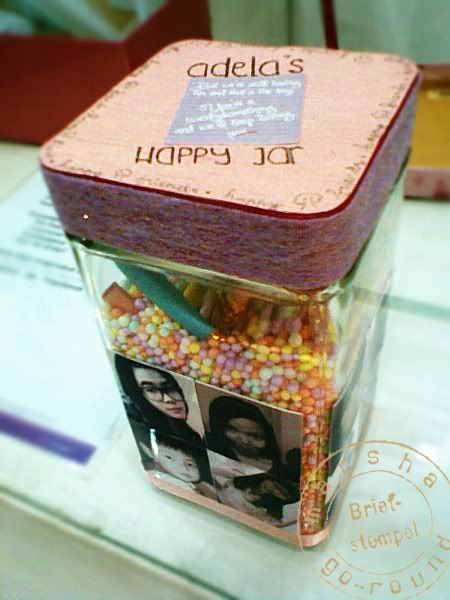
This is how the Happy Jar looks like. :D Pretty cute, right?
So, what do we need if we are planning to make one? Well, quite simple:
1) a medium-sized jar
2) a bunch of old photos (you can edit them so they would look more like old photos)
3) decorative ribbons
4) multi-colored styrofoam snow
5) fancy-colored paper
6) gold strand
7) double tape
Now, let's arrange it into a Happy Jar!

First, measure the width, length, and height of the jar to make sure that you print the right-sized photos.
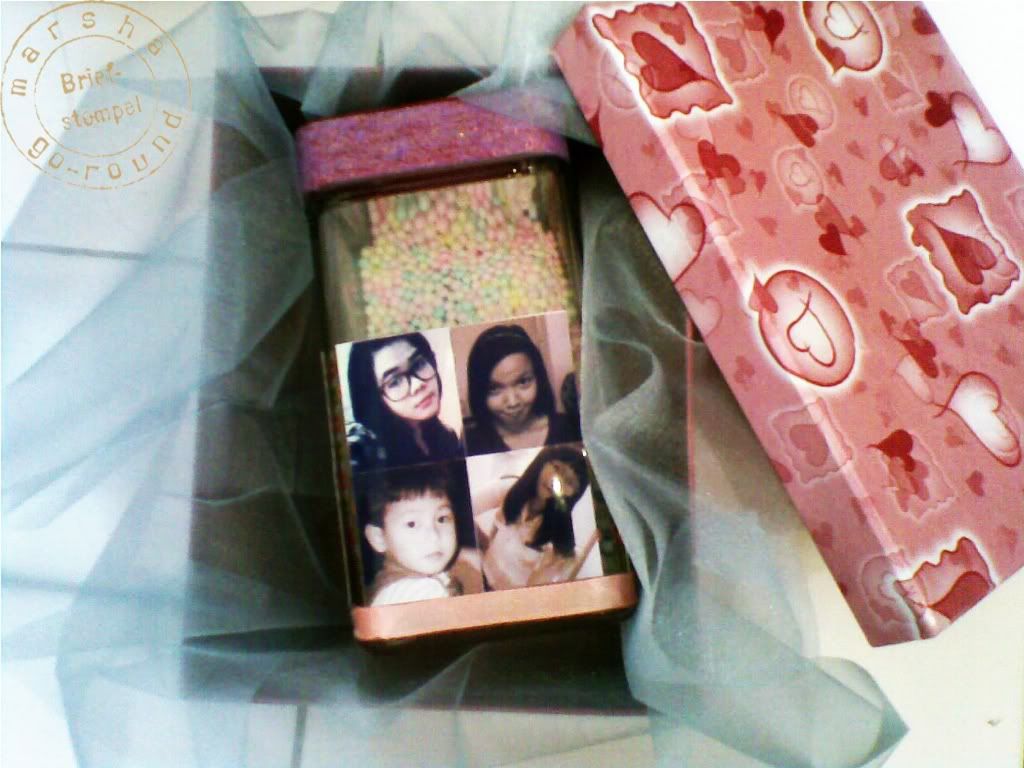
Second, stick the photos onto the four sides' surfaces of the jar. You can order it as you like, but I prefer it in an orderly arrangement, like an old yearbook.
Third, decorate the jar with decorative ribbons and fancy-colored paper as you like. In my case, since Adela loves pastel colors, I used sparkly violet and pink. I used it especially to wrap the jar's cap, since it was red and didn't match at all with the rest of the color palette.
Fourth, fill the jar with multi-colored styrofoam snow.
Fifth, cut the fancy colored paper into 10 cm x 10 cm size. These smaller pieces of paper will be used to write the wishes or quotes. I used blue for the boys, and pink for the girls. You can also modify the size based on what you need.
Sixth, fold the wishes/quotes papers and tie it with the gold strand. Put and arrange them inside the Happy Jar.
And last, final decoration up to your liking. In my case, I wrote on the top 'Adela's Happy Jar', a quote 'But we're still having fun and that's the key; You are a twenty, and we'll keep loving you.', and repetitively around the edge of the top of the cap: 'Happy Tree Friends'.
... voila! :D
Now your Happy Jar is ready to display or to give as a gift.
Simple yet cute and meaningful gift/decoration, right?? :D
Digali masih ada terus.. Jadi happy ~(‾▿‾~) ~(‾▿‾)~ (~‾▿‾)~ #happyjar
-@LumiereJr a.k.a. Adela


0 comments:
Post a Comment