


I first got the recipe from BBC Good Food, and reading their title 'Strawberry Cheesecake in 4 easy steps', I was instantly sold! :p However, when they say "4 easy steps", they apparently mean "kind of un-detailed steps". That's why, as usual, I'll be adding my own commentary from my own practice as well! :D I happen to have made this recipe two times, the first one being a trial from which I learned a lot. :p
Let's begin!
To make Amber Lee's french macarons with my twist of cookies-and-cream you'll need...
250 gram digestive biscuits (I used Marie Regal biscuits)
100 gram butter , melted (I used the unsalted one from Orchid)
1 vanilla pod (the same as 2 tsp of vanilla crystal/powder)
600 gram soft cheese (or cream cheese like I did)
100 gram icing sugar
284 ml pot double cream (this one is not easy to find. I myself used topping ace from Vivo, and other recipes recommend to substitute it with whipping cream as well)
And for the topping, you'll need...
400g punnet strawberries, halved and stoned
25g icing sugar
The equipment you'll need...
23cm loose-bottomed tin (I used the 20cm one), baking parchment, plastic food bag, rolling pin, large bowl, dessert spoon, chopping board, kitchen knife, electric mixer, spatula, serving plate, blender or food processor, sieve
Now I'll give you the BBC Good Food's recipe below, paraphrased, accompanied with my commentary. (; (If you find any difficulty understanding the cooking term, check my post on them here.)
1. Make the base: Butter and line a 23cm loose-bottomed tin with baking parchment. Put the biscuits in a plastic food bag and crush to crumbs using a rolling pin. Transfer the crumbs to a bowl, then pour over the melted butter. Mix thoroughly until the crumbs are completely coated. Tip them into the prepared tin and press firmly down into the base to create an even layer. Chill in the fridge (not freezer!) for 1 hour to set firmly.
Commentary: For my second time, I chose to use a blender instead of rolling pin. It resulted in smoother and more even crumbs. BUT, you are recommended to do so gradually (not crushing all 250 gram of the biscuits at one time) - especially if your blender is as old as mine. It will create even smoother crumbs. Plus, for the chilling time, it is at least one hour, never less.
2. Remove the vanilla seeds: Slice the vanilla pod in half lengthways, leaving the tip intact, so that the two halves are still joined. Holding onto the tip of the pod, scrape out the seeds using the back of a kitchen knife.
Commentary: This step is only for you who use vanilla pod instead of crystallized / powder one.
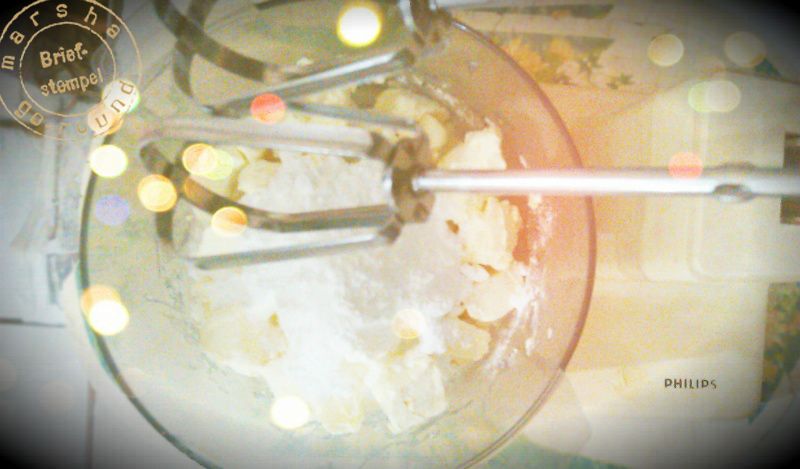
3. Make the filling: Place the soft cheese, icing sugar and vanilla seeds in a bowl, then beat with an electric mixer until smooth. Tip in the cream and continue beating until the mixture is completely combined. Now spoon the cream mixture onto the biscuit base, working from the edges inwards and making sure that there are no air bubbles. Smooth the top of the cheesecake down with the back of a dessert spoon or spatula. Leave to set in the fridge overnight.
Commentary: My cream cheese came in the shape of blocks, and they're really hard to beat with mixer if they are just as they are. So, to help my faithful mixer, I chopped the cheese cream blocks into smaller cubes beforehand. This helps creating smoother mixture. (;
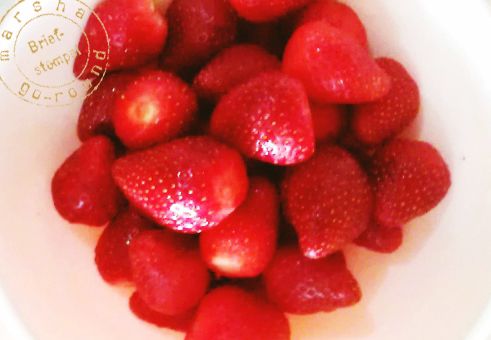
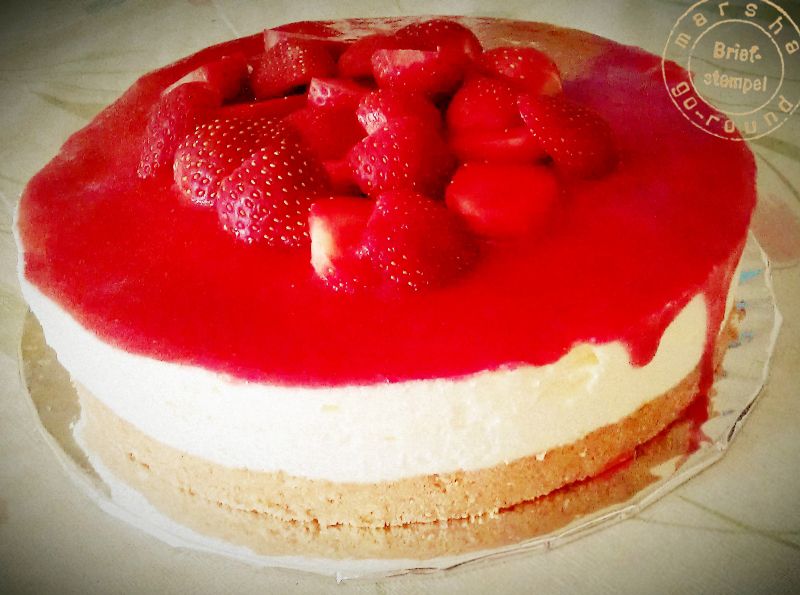
4. Un-moulding and topping: Bring the cheesecake to room temperature, about 30 minutes before serving. To un-mould, place the base on top of a can, then gradually pull the sides of the tin down. Slip the cake onto a serving plate, removing the lining paper and base. Purée half the strawberries in a blender or food processor with 25g icing sugar and 1 tsp water, then sieve. Pile the remaining strawberries onto the cake, then pour over purée.
Commentary: Thank God my loose-bottomed tin came with a clasp that makes un-moulding easier! :D And remember, sieving the blended strawberries is important! My strawberry sauce got complimented because it was so silky smooth, without the unwanted sediment.
And that's all! It's ready to enjoy with loved ones. (;

So, how was it? Do you think you're gonna try it soon? Let me know how it turns out! (; Happy cooking!


0 comments:
Post a Comment